Multi-Factor Authentication
Getting Started
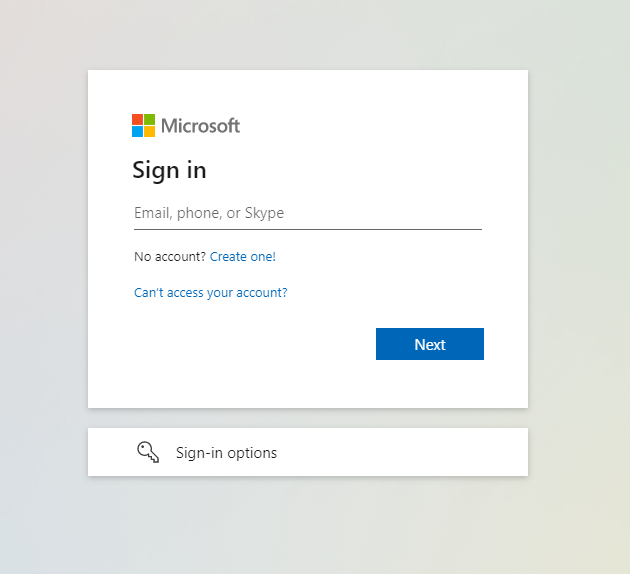
Login to a Microsoft cloud service
- Open a browser session for Microsoft O365 Cloud service
- NOTE: MFA is not triggered if you are accessing O365 via My Apps because you are already pre-authenticated.
- NOTE: MFA is not triggered if you are accessing O365 via My Apps because you are already pre-authenticated.
- Once you enter your @northeast.edu email address and click Next, you will be redirected to the Northeast Apps login.
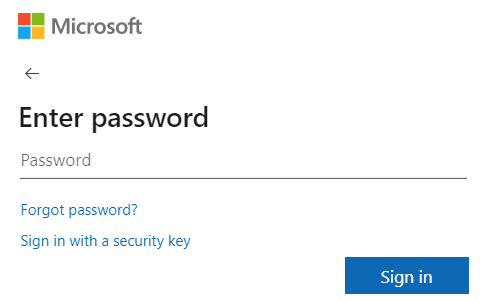
- If you are prompted to choose your “Work or school” or “Personal” account, choose “Work or school”.
Authenticate to the Northeast My Apps page
- Upon successful login, you will be redirected back to the Microsoft O365 portal.
Completion of more information required section
- When prompted with “More information required”, click “Next” to continue the MFA registration
- You will be redirected to the My Sign-Ins security verification page.
- If you just need to update your default method simply click on the Update Info link
OR
- if in the office portal click on your initials in the upper right corner and then on the “View Account” link and then choose the “Security info” tab.
- If you just need to update your default method simply click on the Update Info link
Specify the device / method for security verification
- Northeast highly recommends users should select the “Notify me through app” option (located in the drop-down menu) and “Microsoft Authenticator” when setting up additional security.
- Click the blue “Set Up” button to complete configuration. Do not click “Next” until you complete the mobile app set up.
Configure your mobile app
Important: If not already completed, open your mobile device, go to the Apple or Google App Store and look for ‘Microsoft Authenticator’. Download and install this app (it’s free) to your mobile device. You must have the mobile app installed prior to proceeding to the next steps.
- You will also need to open the Additional Security Verification on a separate device (laptop, tablet, or PC). Please use your “email-address@northeast.edu” to log in, and you will be redirected to the Single Sign-On page.
- Once signed-in to the verification page, choose the verification option of “Notify me through the app,” then check the “Authenticator app or token” check box, and select “Set up Authenticator app” to display a personalized QR code, as well as further instructions
- When first downloading the Microsoft Authenticator app, you will be prompted to “Log in without an ID” or “Skip,” select “Skip”
- Click the ‘+’ in upper right-corner of mobile app to add a new account.
- Choose the option for ‘Work or School account’.
- Choose ‘Scan QR code’.
- Next, the Microsoft Authenticator app will activate your device’s camera (you may need to click allow to do so). Position the device to capture/ ‘scan’ the provided QR code on your other device, then click the ‘Next’ button on the ‘Configure Mobile App’ webpage.
Confirming successful device registration
- Once your device has been successfully registered, you should now see the following status “Additional security verification” and the “Set up” button is now grayed-out.
- Click the “Next” button to proceed to the final step and this should prompt a verification approval on your mobile app.
- Please input your cell number after choosing the country code as a back-up option.
- Proceed to save your updates.
Confirming alternate phone number
- Add an additional layer of security to your account by adding phone verification to your password. Note: It is not recommended that you use your mobile device number. Rather use your office or home number.
- The telephone number entered in ‘Step 3: In case you lose access to the mobile app’ will be used by the security verification process if ever you lose access to your mobile app/device.
- You can also call the Northeast Service Center at (402) 844-HELP for assistance with accessing your MFA-protected account without your registered mobile device.
Resources
- Additional information can be found though Microsoft’s Additional Verification Page.
- How to set up your preferred method for additional security verification